The Submitted Applications section within CrossConnect displays a grid view of all applications submitted to a campus from their CFNC application. Submitted applications can be filtered to narrow the view of applications and searched to quickly find a specific applicant’s application. This can be helpful for quickly finding a single applicant’s application and associated tasks.
Within this section, you can navigate to individual applications and see the application details, any attachments the applicant submitted with their application and the application tasks associated with their application. You can also manually mark tasks as complete for the applications.
Note: This area serves as a view of the submitted application and supporting documents. If you want to download the application, see the CrossConnect: Applicants Export Settings and Projects documentation. If you want to download application tasks or application attachments, see the CrossConnect: Applicants Attachments and Tasks Export Settings and Projects documentation.
Using Filters for Submitted Applications
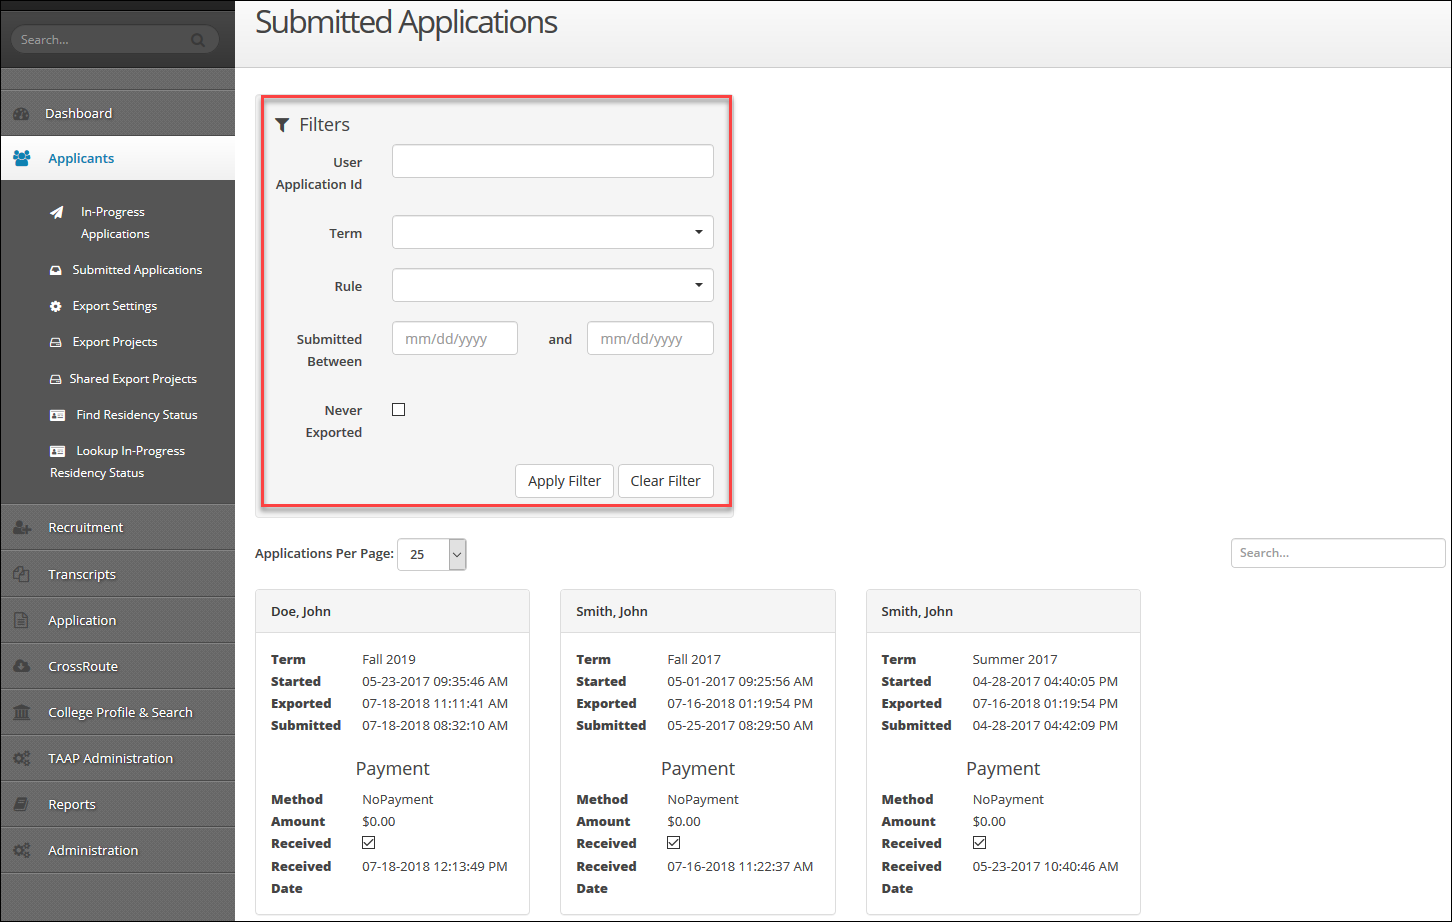
The main screen shows a grid view of all submitted applications since the launch of CrossConnect. You can filter these results by using the filters box.
- To filter the data, click the Filter icon (
 ) in the Filters box to expand the options available to you:
- User Application Id: Allows you to enter an application ID to find a specific application. When you enter an ID, makes sure to include the text and number: userapplications/######
- Term: Contains a dropdown list of enrollment term names that have submitted application data. You can type into the list to perform a smart search for the term you want, or scroll through the options to locate a specific term.
- Rule: Contains a dropdown list of all the rules in your selected application. This includes application rules and any application and filter rules you have created. You can type into the list to perform a smart search for the rule you want or scroll through the options to locate the rule.
- Submitted Between: Allows you to download applications submitted within a specified date range. You can type the full date (mm/dd/yyyy) into the date fields or use the calendar that pops up when you click the fields.
- Never Exported: Check this box to view applications that have not yet been exported by any of your Application Export Projects.
- Click Apply Filter button (
 ) to apply the filter(s) you selected.
 - Click Clear Filter button (
 ) to remove all selected filter(s).
 - Click the drop-down next to Applications Per Page to change the number of results on each page. The default setting is 25.
- To search for a specific applicant, enter their first or last name (or part of their first or last name) into the Search box to perform a smart search.
- The default grid view provides information containing a specific set of application fields for each submitted application:

- Last Name: Last name from the CFNC profile of the applicant that submitted the application
- First Name: First name from the CFNC profile of the applicant that submitted the application
- Term: Enrollment term name selected on the submitted application
- Started: Date and time the applicant started the application
- Exported: Last date and time the application was downloaded from CrossConnect
- Submitted: Date and time the application was completed and submitted to your campus
- Method: The payment option selected by the applicant when submitting the application
- Amount: The application fee on the application at the time it was submitted
- Received: This checkbox can be clicked to manually indicate that an applicant’s payment has been received. This is a useful way to mark Fee Waiver and Check/Money Order payments as received, since only Credit Card payments are recorded and checked automatically (Note: if you uncheck this box, it will remove the Received Date date)
- Received Date: The date the application fee was received. If the applicant payed by Credit Card, this date will automatically populate when the payment is made. A date will also populate if you manually check the payment as “received” (Note: If you have no application fee, this will always be blank unless you manually check the Received box)
- At the bottom of the screen, you can see the total number of applications displayed in your results (over all pages)
- Click the First, Previous, Specific Page number, Next, or Last button to navigate through your Submitted Applications Report results.