From the Transcript section of CrossConnect, you can download all transcripts submitted to your campus, regardless if the applicant requested it with a submitted application or as a separate request directly from the CFNC Application Hub.
NOTE: You may configure CrossConnect to download transcripts on their own; or you may wish to download transcripts bundled with the submitted application.
If you want to configure transcripts to download SEPARATE from the submitted application, you may configure this within the Transcripts area of CrossConnect using the steps in this section, “Exporting Transcripts”.
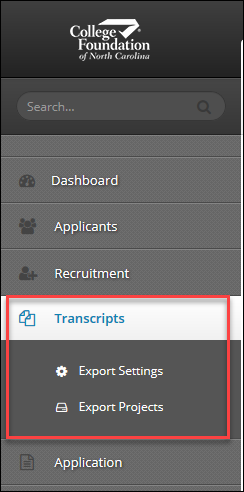
If you want to configure transcripts to download WITH the submitted application, you may configure this within the Applicants area of CrossConnect. Instructions for bundling transcripts with applications are located within the Applicants area of the online help.
Downloading transcript data in CrossConnect is a three-part process:
Part 1: Creating your Export Setting
Part 2: Creating your Export Project
Part 3: Exporting the data
The first two parts are one-time-only setups while the third part is the process you will use daily to download transcript data. You will only need to revisit your Export Settings and Export Projects if you want to make changes in format or file naming conventions.
Export Settings
Export Settings is where you determine the format of the transcripts you want to download. Here you can also see any previously created Export Settings, edit these settings, or create new ones.
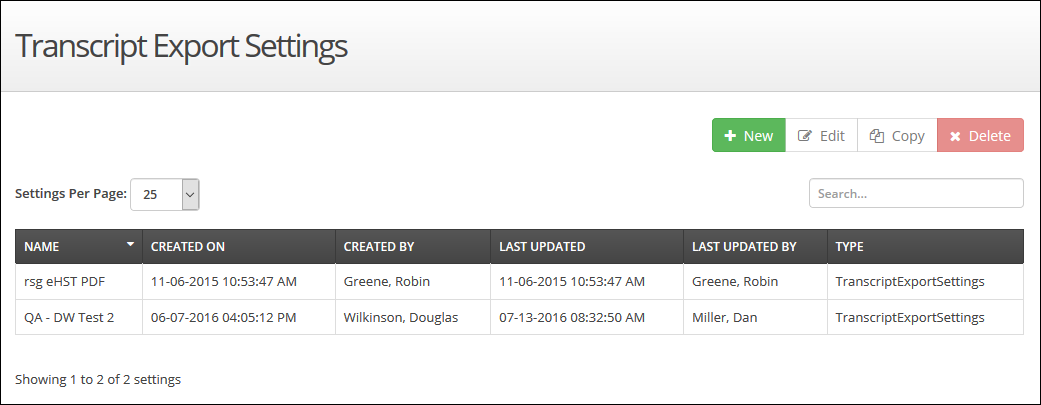
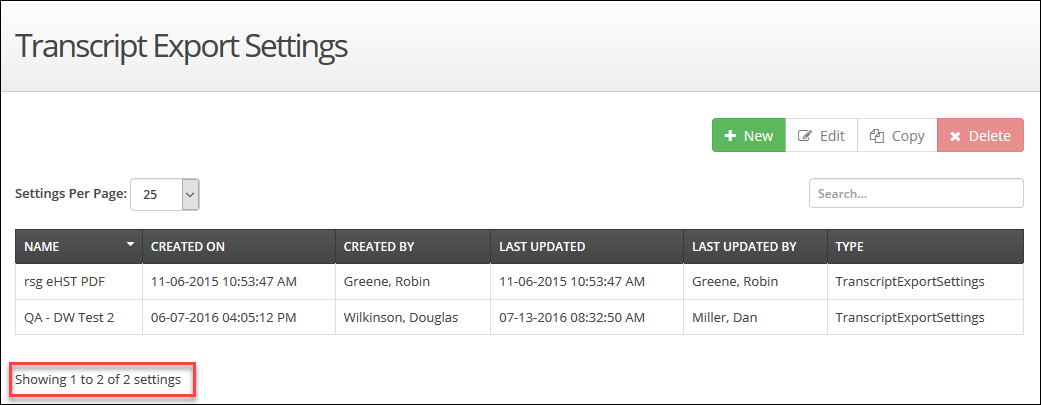
- The Transcript Export Settings main screen shows all the transcript export settings created since the start of CrossConnect, that have not been deleted.
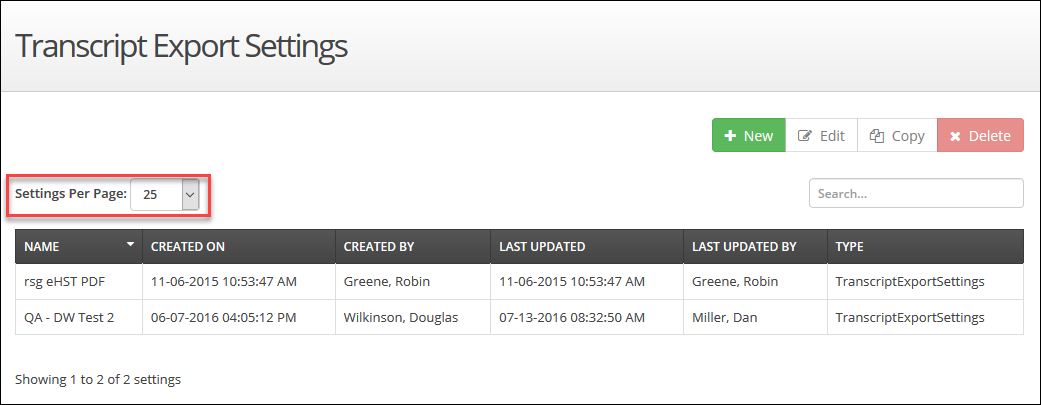
- Click the dropdown next to Settings Per Page to change the number of results you see on each page below. The default setting is 25 records.
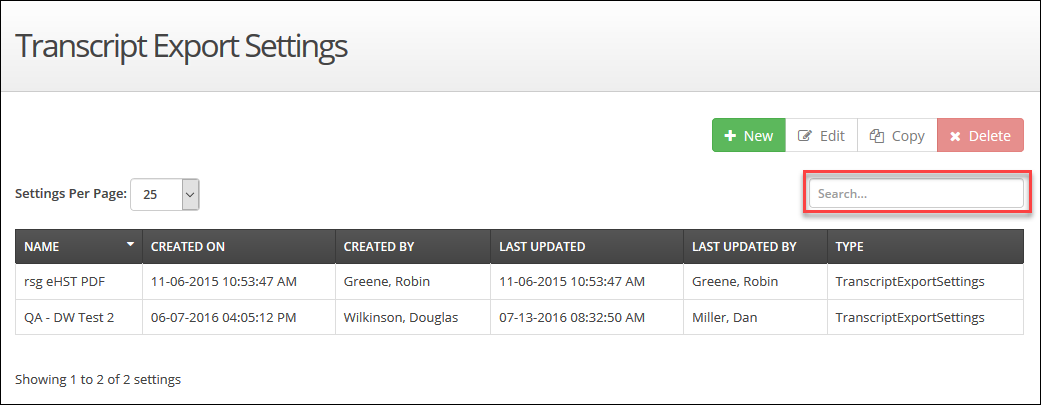
- You can use the Search box to conduct a smart search to locate a specific Export Setting
- The main screen provides information about each Export Setting:
- Name: This is a unique name assigned to the setting when it’s created. This is the name that will populate to the Export Projects section, when you build your download.
- Created On: This is the date and time the setting was created.
- Created By: This is the name of the account holder who created the setting.
- Last Updated: This is the date and time the setting was last updated.
- Last Updated By: This is the name of the account holder who last updated the setting.
- Type: This is a classification of the Export Type selected when creating the Export Setting (this type will always be “TranscriptExportSettings” since you only create transcript exports from this area.)
- At the bottom of the screen, you can see the total number of settings currently available (over all pages)
- Click Next, Previous, or Specific Page number to navigate through the Export Settings
Creating new Export Settings – Export All Transcripts
Creating an Export Setting is the first part in the three-part process of downloading data.
- Click the + New button (
 ) at the top of the screen
 - Type the Name for your new transcript Export Setting. This is a unique name assigned to the setting when it’s created. This is the name that populates to the Export Projects section, when you build your download. It also populates to the main Export Settings
- Type the File Name for your new transcript Export Setting. This is the name that populates within your Export Project downloaded zip folder, if you are downloading transcripts as separate files and not a combined file.
- You can add fields from the transcript request to the File Name by typing the field key(s) as part of the name (ex: File Name: PDF eHST [[LastName]] [[StudentId]]). There are six fields available from the transcript request that you may use in the File Name:
- [[FirstName]]: First name associated with the transcript request
- [[MiddleName]]: Middle name (if provided) associated with the transcript request
- [[LastName]]: Last name associated with the transcript request
- [[DateofBirth]]: Date of birth associated with the transcript request
- [[StudentId]]: Student ID (also called NC Student Number, formally NC WISE ID) associated with the transcript request. This number is unique to the applicant.
- [[TransactionId]]: Transaction number associated with the specific transcript request. This number is unique to the applicant and the transcript.
- You can add fields from the transcript request to the File Name by typing the field key(s) as part of the name (ex: File Name: PDF eHST [[LastName]] [[StudentId]]). There are six fields available from the transcript request that you may use in the File Name:
- Type the Single File Name for your new transcript Export Setting. This is the name that populates within your Export Project downloaded zip folder, if you are downloading transcripts as a combined (single) file.
If you want to the date and time stamp in the file name, add the following suffix to the file name (case-sensitive): {MM-dd-yyyy-hh-mm-ss}
- MM: two-digit month
- dd: two-digit day
- yyyy: four-digit year
- hh: two-digit hour
- mm: two-digit minute
- ss: two-digit second
- Select the Format
- PDF: This is an easy to read and print format that will look exactly like NC DPI’s student information system transcript
- XML: This is a common format read by most computer systems
- Click the Save button (
 ) to save the Export Setting.
Once you save your export setting, the Test Export tab will appear.
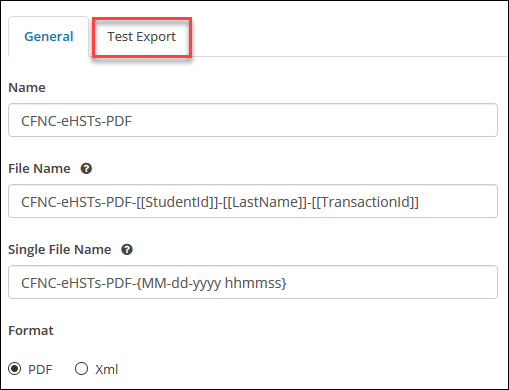
Here you can export a test transcript file, using the settings you just specified on the General tab. Exporting a test file from Test Export will not impact the count of new transcripts (those that have not been exported yet) or be reflected as exported in the Submitted Transcript Report. To test the setting:
- Click the Test Export tab
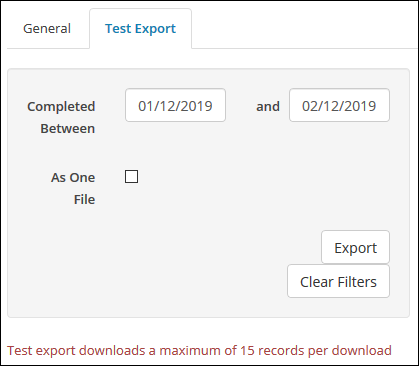
- Set a filter to ensure the downloaded test file is a manageable size (NOTE: The maximum number of records you can download from Test Export is 15). The filters available are:
- Completed Between: Allows you to download transcripts submitted within a date range. You can type the full date (mm/dd/yyyy) or use the calendar that pops up when you click the fields.
- As One File: Downloads your transcripts as one large file instead of one individual file for each transcript record.
- Click the Export button (
 ) to download your test file with your selected filter(s).
 - When the test file is successfully generated, you will see the message “Export file successfully generated [number of records] exported.” The Download Export File button (
 ) will also appear.
 - Click the Download Export File button () to download and open your test file export.
- If everything in the test file is as you want it, then you are ready to move on to the next step, Export Projects. If you need to make any edits, click the General tab to do so.